Backstory
Neighbour was complaining there was a leak from my home.
My first thought was my adjacent bathroom.
So toilet renovation began. The contractor was instructed by me to seal the drainage with a narrow neck to prevent cockroaches from coming up, but hor these fellas used cement to make the hole small thus affecting drainage. And became uncontactable after the job.
Later, it turned out that the leak was caused by me installing a water pump, and the pressure broke a weak point in an existing 40-year-old pipeline.
Back to the drainage, now slowed to a crawl, I was taking matters into my own hands and bought a long drill bit to make the hole bigger. Plop, the cement attached to the PVC drainage fell deeper and congested the whole shower area.
No one used the shower area for the next 10 years.
Lesson : When moving into an existing home, consider redoing the wires, roof, plumbing, and tiling.
Why Not
10 years in, came a thought,
“Why not have a working bathroom.”
Got a contractor Raven, who eventually became a friend, to help. He replaced the whole drainage because of the clogged cement. Yay! A working drainage means a working bathroom.
Then came a new problem, there was a leak, at the drainage. But the toilet is still drying out. No water accumulated, nothing.
So over the next 4 months of 2025 became the case of finding the source of the leak.

Old galvanized iron drainage

Clogged drainage

New piping installed
Over a WhatsApp discourse (free consultation!) I learn to :
- Groot and waterproof the toilet.
- Removed a leaking balcony tangki, and groot it’s floor.
- Cut off all internal galvanized iron piping and install external PVC piping.

What grooting looks like.

Everleaking balcony tangki

More grooting
Out with The Old, In with The New
I began to do external piping for most of the internal galvanized pipes. Suddenly the world of possibilities opened my eyes because I can direct water anywhere!


Well, after every fix, it is hopeful that the leak will stop but it didn’t. Puzzled himself, Raven came over and saw the most glaring problem, the internal pipe from the main to the tangki is corroded (read the Lesson above).

New Quest
Now, how to replace the main which runs internally, feeds the kitchen, and runs under the kitchen towards the hall before it heads up to the main tangki?
Answer: Bypass them all.
Thus the new quest began to pull polypipe from the water filter, splice to the kitchen, and the other to the main tangki.
Then I had an epiphany. Why not, from the main, pull the polypipe straight to the main tangki (2 floors up), then polypipe down 1 floor to another tangki, then only pipe down to the kitchen? This solution will then give backup water supply to the kitchen when there’s a water cut. A goal that I wanted to be prepared for after a few water cuts during MCO.
So, I bought 1 stainless steel and 1 slim and tall poly tangki.
Handling polypipe is equivalent to doing kungfu with a python.

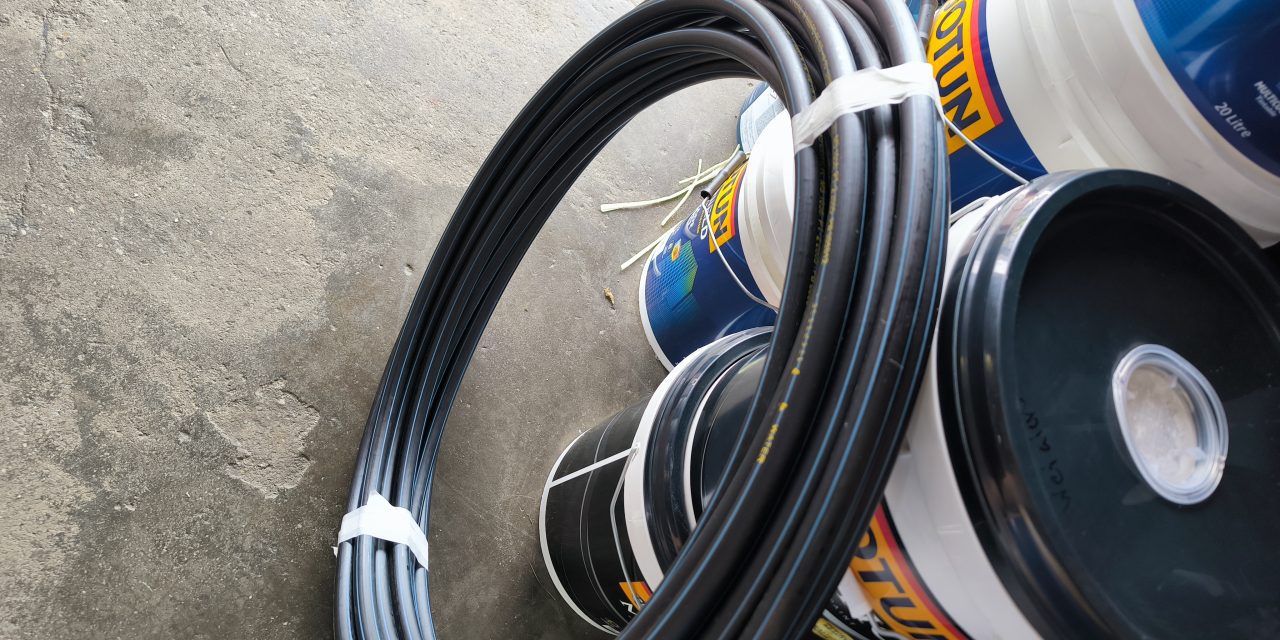
71 feet of Polypipe

Pulling up the stainless steel tangki

Thinking how to move the Poly tangki
Thing is, the kitchen can’t be without water coz the family still needs to eat. And there’s no visible route to run the pipe from the stainless steel tangki (1st floor) to the kitchen below.
So I drilled. Drilled a hole through the balcony. Drilled a hole through the gas tank housing (remove the gas tank first of coz). Drilled a hole between the housing and the adjacent kitchen’s existing outlet. Drilled a hole on the island sink outlet too.
Man, I feel so macho. hahaha. The impact drill gave my arms a workout.
Cutting 1 inch PVC class 7 pipes takes some grip finger muscles.

1 inch hole drilled at the balcony

1/2 inch hole drilled at the sink
Day Zero
The kitchen now has water from the new tangki. It’s time to cut off the old main for good. 1st May 2025 is Day Zero for the leak to finish dripping out of the concrete slab.

Cutting off the old main

New main via poly straight to main tangki
The End… or is it?
The 2 new tangkis have been installed. Now the waiting game.

Poly tangki

stainless steel tangki
If you’ve read thus far, thank you for joining me on this unglamorous journey of plumbing. I’ve attained a new skill set which kept me pretty occupied for the better half of 2025.
[Nov 2025] UPDATE : It Is FINISHED
THE LEAK DRIED UP!
It has been a long and ardous journey since a year ago since contracting to make the toilet useable.
The final solution apparently was the fixing of the toilet bowl position. 10 years ago the lousy contractor seated the toilet bowl to be lower than the drainage causing water to backflow. So much so the cement under the toilet bowl has completely drained away left only with the grains of sand.

Top down view of the toilet bowl and the drained cement

Strategizing how to level the seat

Sitting and leveling the newly cement seat.

1 week worth of drips
Collection is made weekly and after 6 WEEKS, the drip downstairs finally stopped. That much was stored up.
Now after much patience of testing and waiting (instead of just redo the whole flooring and toilet which would have cost have bomb), We can finally put a close to this chapter in 2025.